Hello Crafty Friends! I have a quick and easy masculine milestone birthday card to share with you today featuring these fun and huge balloons from the Blueprints 26 Die-namics. I love how these MFT Blueprints Die-namics have so many basic and very useful elements in them. This #26 set is all about birthday balloons and sentiment. I used several of the parts for this card and paired them up with the Balloon Strings Background stamp and the In Stitches Numbers Die-namics to create a quick milestone birthday card for one of my son's friends.
First, I took a piece of Smooth White cardstock (4.75" x 6.75") and stamped it with the Balloon Strings Background stamp using Pumice Stone Distress Oxide ink. Because I wanted to make a larger A7 (5" x 7") card, I had to stamp the background stamp twice in order to cover the entire length of the card. After stamping it once on one end of the panel, I shifted the panel and stamped the other end. Luckily, the process wasn't too difficult since I knew that I would be able to hide that junction beneath some of the balloons.
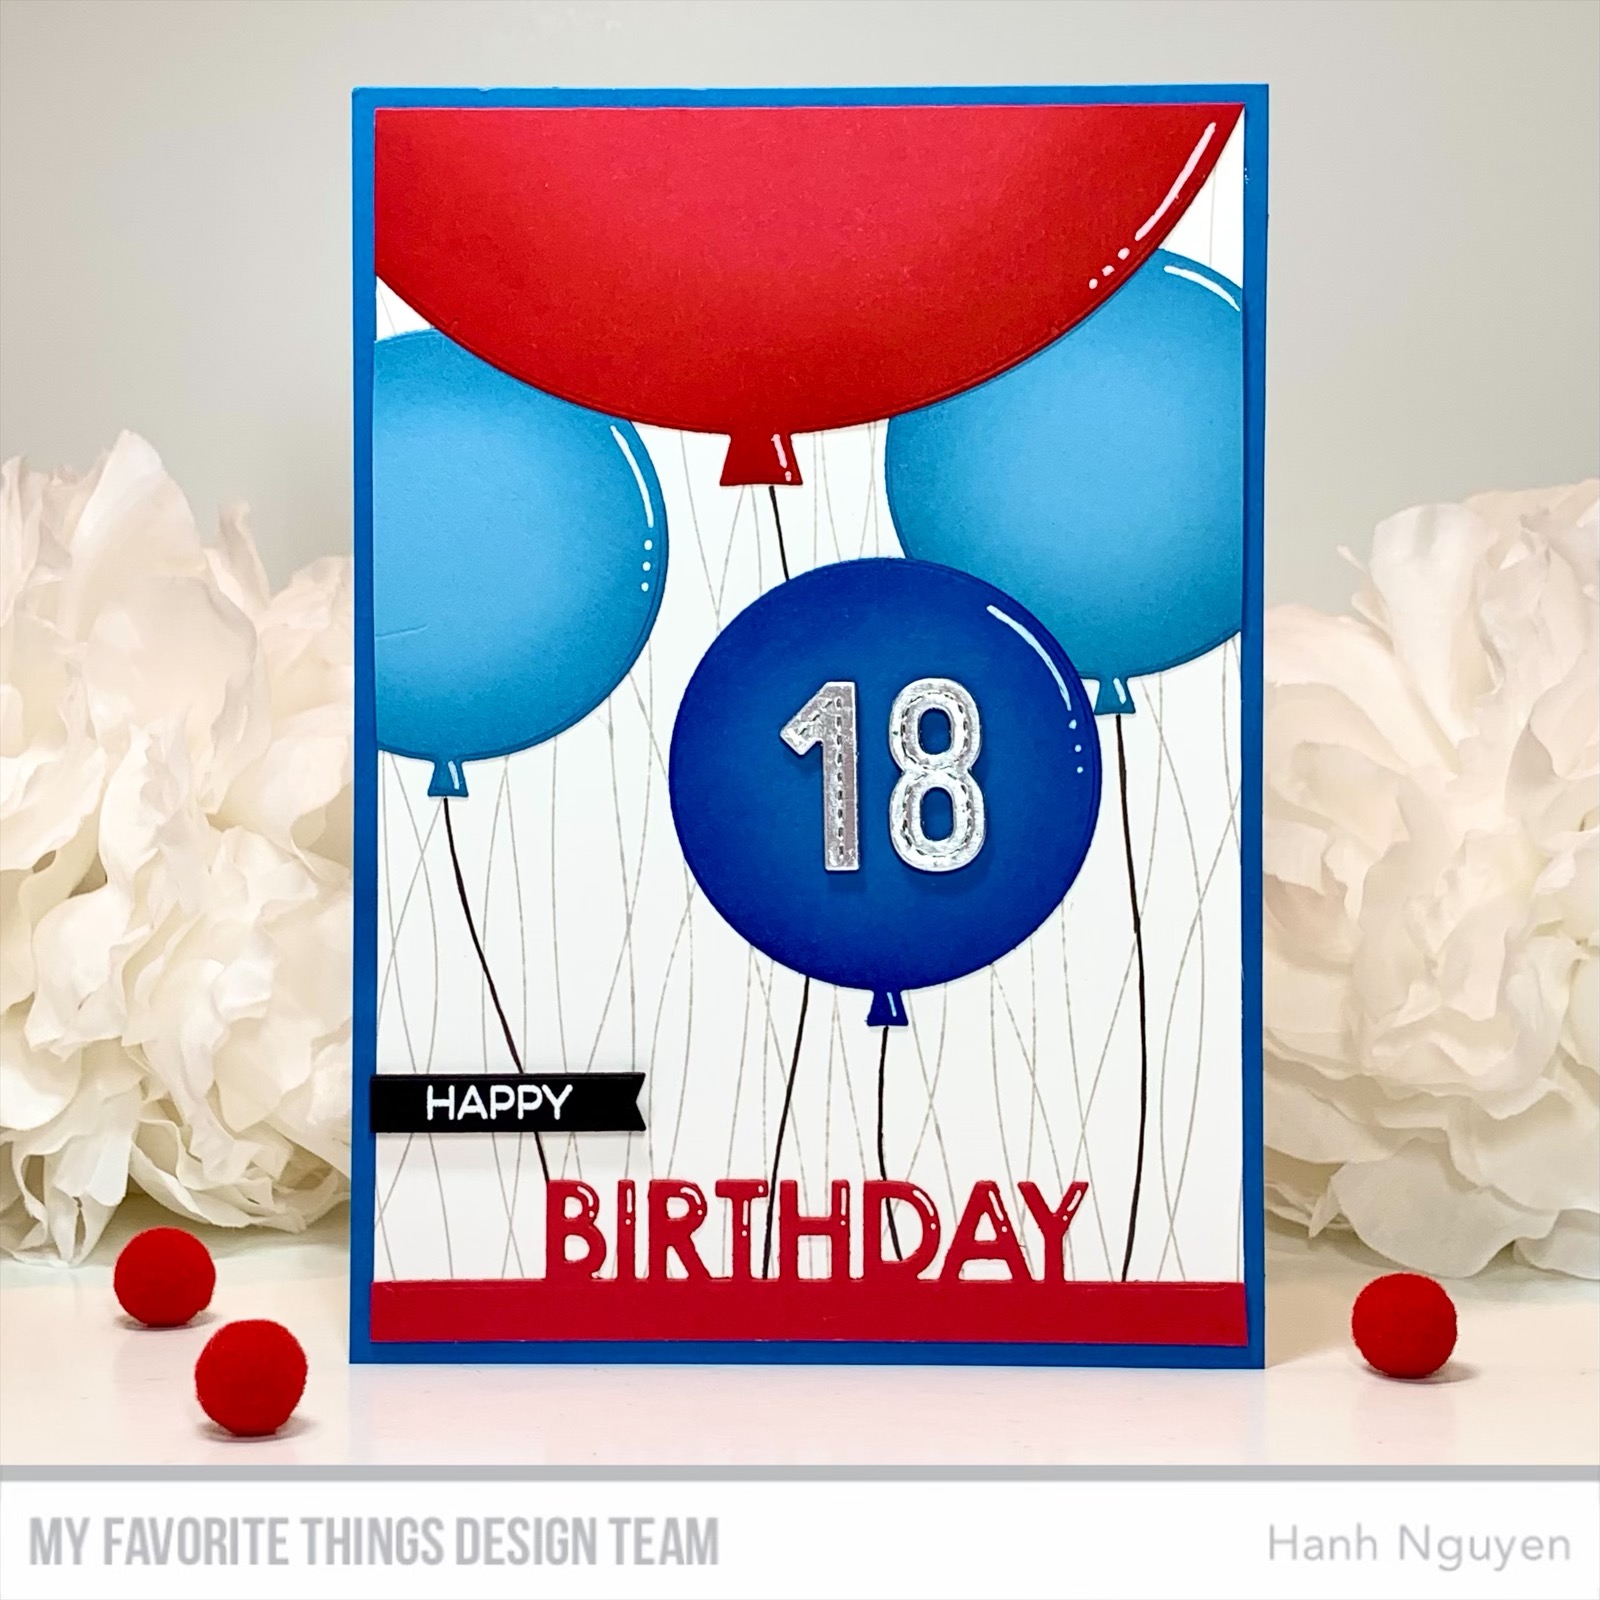
Next, I diecut some balloons using the balloon dies from the Blueprints 26 Die-namics set with Red Hot, Lazy Blue and Cornflower cardstock. I used the matching Red Hot, Lazy Blue and Cornflower inks to ink blend and deepen the colors at the edges of the balloons. I used a white gel pen to add a bit of highlights.
.jpeg)
I used the In Stitches Numbers Die-namics to diecut the numbers 1 and 8 once out of Silver Shine and twice out of Licorice Black cardstock. I assembled the numbers and adhered them with liquid adhesive.
I adhered the balloons and Birthday sentiment to the inked panel with liquid adhesive. I used a Copic Multiliner to outline the balloon string closest to the center of each of the balloons. Then, I adhered the Happy sentiment strip with some foam tape for a bit of dimension.
Finally, I adhered the panel to a piece of Cornflower cardstock (5" x 7") before I adhered it to a Smooth White card base (5" x 7").
.jpeg)
Comments
Post a Comment