COPIC COLORS:
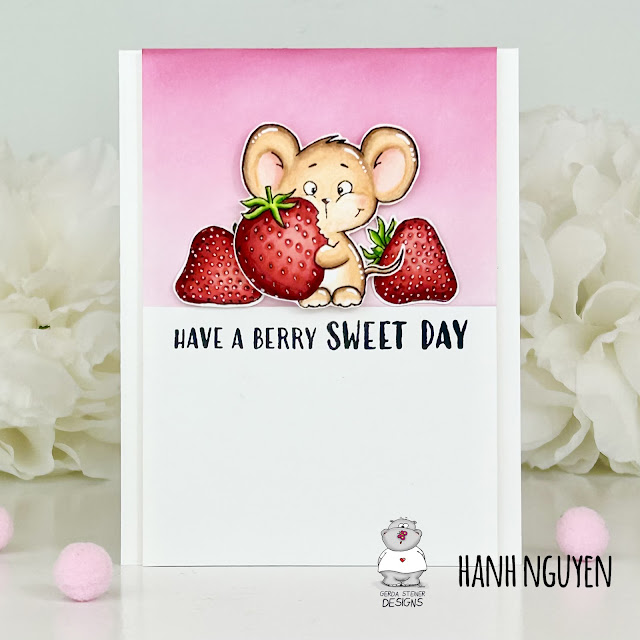
Mouse: E50/51/53/33, R000/00/30, E25
Strawberries: R20/21/22/24/27/29, YG01/03/17
I took another piece of white cardstock (4.25" x 5.5") to create the card front. I used masked off the bottom half of the panel and ink blended the top portion of the panel with some Spun Sugar, Kitsch Flamingo and Picked Raspberry Distress Oxide inks. I trimmed off 0.25" from the left and right sides of the panel to remove the harsh edges of my ink blending as well as to add a bit of interest to my final card design.
I stamped one of the sentiments from the set directly onto the inked panel with the same Memento Tuxedo Black ink. I added a piece of craft foam to the back of the panel before adhering it to a white card base (4.25" x 5.5"). Finally, I adhered the strawberries liquid adhesive and the mouse foam tape for a bit of dimension and interest.
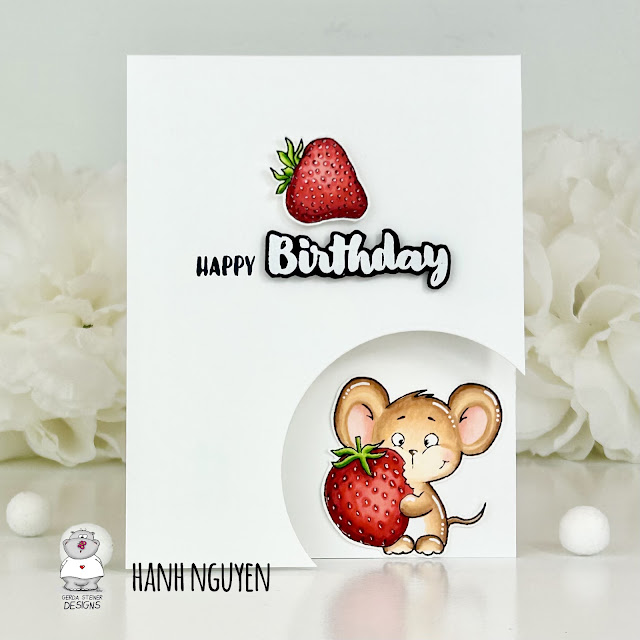
Happy Birthday! For my second card, I created a fun but very simple design that allowed this adorable mouse to be enjoyed on the card front as well as the inside. Why should the fun stop at the front of the card, right?
I stamped, colored and fussy cut out the mouse and one strawberry image in the same manner as the first card.
I took a piece of white cardstock (4.25" x 11"). I used a score board to score and fold at the 5.5" mark to create a top-folding cardbase.
In order to create a cutout, I used the colored mouse as a guide to position a 3" circle die on the lower right corner of the front flap of the card. I used the fifth smallest die from the MFT A2 Stitched Circle STAX Die-namics but any 3" circle die can be used to create the same effect. Low-tack tape was used to secure the die to the cardbase. Before running it through my diecut machine, I made sure to remove the colored mouse and unfold the cardbase so as to only diecut the front panel.
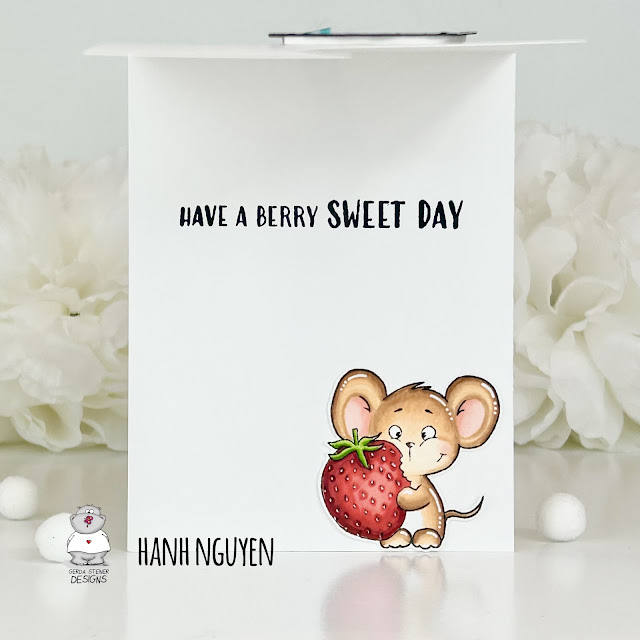
For the sentiment, I stamped of the word Birthday from the set with Versamark Watermark ink onto a piece of anti-static treated black cardstock. I added white embossing powder before heat setting the embossing. I used a sharp pair of scissors to fussy cut around the word. I used Birthday word to position and stamp the Happy word directly onto the front panel with Memento Tuxedo Black ink. I also stamped the "Have a berry sweet day" sentiment on the inside of the card -- making sure to position the sentiment high enough so that it cannot be visible through the circle cutout on the front flap when the card is closed.
Using the circle cutout as a guide, I adhered the mouse to the lower right corner of the inside of the card with liquid adhesive. Then I adhered the strawberry and Birthday word to the front of the card with some foam tape for a bit of dimension and interest.
As always, I appreciate you taking the time to stop by and visit today. I hope you liked my cards. I had so much fun playing with this adorable Strawberry Mouse Clear Stamp set and truly appreciated this amazing opportunity to Guest Design for GSD. Please also visit my INSTAGRAM feed for more inspirations.
Have a berry sweet day!
Hanh
_Hanh_both.jpeg)

_hanh.jpeg)


Comments
Post a Comment